Step-by-Step Roof Conversion Process in the UK
A roof conversion is one of the most effective ways to create extra living space without extending outward. Whether you want an additional bedroom, home office, or guest room, understanding the process helps you plan properly, manage costs, and avoid delays.
1. Initial Assessment and Feasibility
The first step is to assess whether your roof space is suitable for conversion. This includes checking the roof structure, available head height, pitch, and the condition of existing timbers and joists. Access is also important, as the new space will need a safe and practical staircase.
At this stage, a professional survey can identify structural limitations early and confirm whether the project is viable before design work begins.
2. Structural Survey
Once the space appears suitable, a structural survey is carried out to determine what reinforcements are needed. A structural engineer will inspect the existing roof frame, floor joists, and load-bearing elements to see whether steel beams, strengthened flooring, or roof alterations are required.
This step is essential because it forms the basis for safe design and ensures the conversion can comply with building regulations.
3. Design and Planning
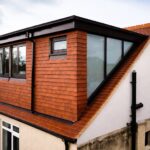
After the survey, the design phase begins. This is where layouts, staircase position, window placement, and the overall use of the new room are planned. Depending on the property type and space available, designs may include velux conversions, dormer loft conversions, or hip-to-gable conversions to maximise headroom and usability.
A well-prepared design balances usable floor space, natural light, storage, and compliance with regulations.
4. Planning Permission and Legal Checks
Not all roof conversions require planning permission, as many fall under permitted development rights. However, permission may still be needed for larger alterations, homes in conservation areas, or listed properties.
More complex designs such as mansard conversions or L-shaped & side dormer conversions are more likely to require approval due to their impact on the roof structure and external appearance.
You may also need a Party Wall Agreement if the work affects a shared wall with a neighbouring property. Checking these legal requirements early helps prevent delays once the build is ready to start.
5. Building Regulations Approval
Even if planning permission is not required, building regulations approval is essential. The project must meet standards for structural safety, fire protection, insulation, ventilation, staircase design, and electrical work.
Detailed drawings and structural calculations are usually submitted before construction begins. Approval at this stage gives confidence that the finished conversion will be safe, compliant, and ready for certification.
6. Appointing the Right Professionals
With the design and approvals in place, the next step is choosing experienced professionals to carry out the work. This may include an architect, structural engineer, building control officer, and a specialist roof conversion contractor.
It is always worth comparing quotes, reviewing previous projects, and confirming that your chosen contractor has appropriate insurance and experience with similar conversions.
7. Site Preparation and Scaffolding
Before structural work starts, the site must be prepared properly. Scaffolding is usually erected to provide safe access to the roof, and protective measures are put in place to reduce disruption inside the home.
Careful preparation makes the construction phase safer, more efficient, and less stressful for homeowners.
8. Structural Work and Roof Alterations
This is the main construction stage. Depending on the design, the contractor may strengthen the floor, install steel beams, modify roof trusses, and create new openings for dormers or roof windows.
Some properties may also benefit from more advanced layouts such as piggyback conversions, which allow for additional space by combining different structural approaches.
These works form the structural framework of the conversion and must be completed accurately to support the new room safely.
9. New Floor, Roof Structure, and Openings
Once the main support structure is in place, the new floor system is installed and the roof is adjusted to create usable internal space. Openings for rooflights, dormer windows, or gable changes are also completed during this phase.
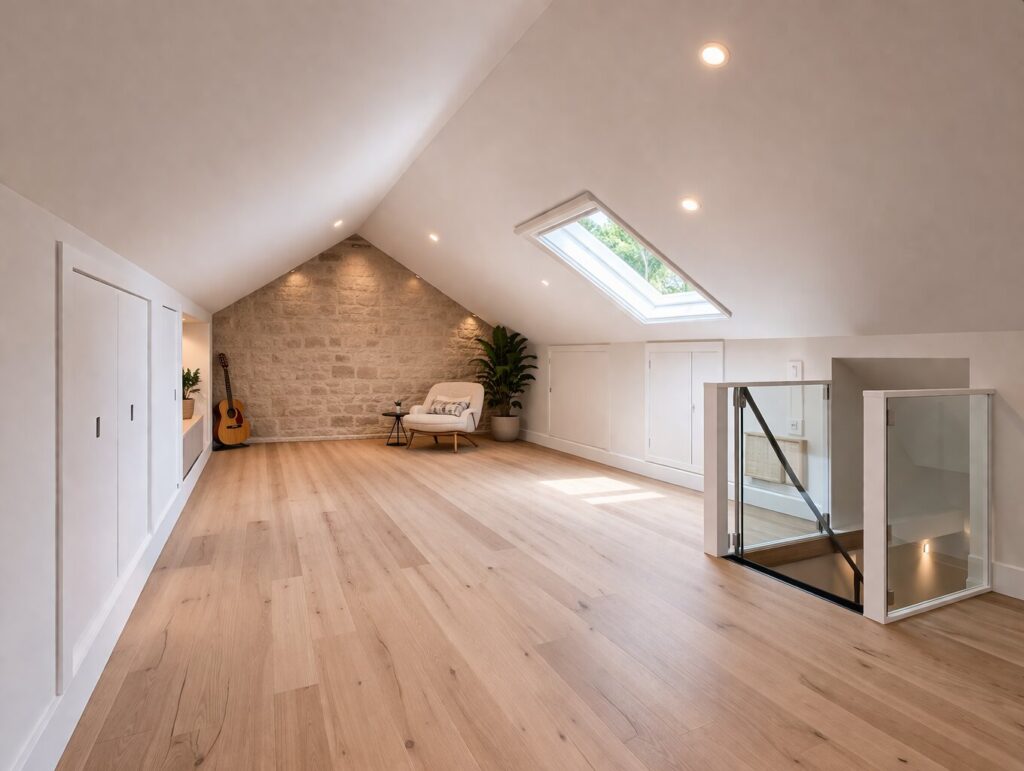
At this point, the new room starts to take shape and the overall layout becomes much easier to visualise.
10. Insulation, Ventilation, and First Fix
After the main structure is complete, the conversion moves into the internal build stage. Insulation is installed within the roof and walls to improve energy efficiency, while ventilation is added to control moisture and airflow.
The first fix stage also includes wiring, plumbing, pipework, and any heating connections required for the finished space.
11. Plastering, Staircase, and Second Fix
Once insulation and first fix services are complete, the walls and ceilings are plasterboarded and plastered. The staircase is then installed, followed by second fix works such as sockets, lighting, switches, doors, skirting boards, and fitted joinery.
This is the stage where the conversion begins to look like a completed living area rather than a building site.
12. Final Inspection and Handover
At the end of the project, the work is inspected to confirm it meets building regulations and approved plans. Once everything passes inspection, the completion certificate is issued.
The final handover may also include guarantees, electrical certificates, and any relevant product manuals. With this complete, the new space is ready to use.
Unlocking the Full Potential of Your Property
A roof conversion involves much more than simply opening up loft space. From feasibility checks and structural design to approvals, construction, and final sign-off, each step plays an important role in delivering a safe and high-quality result.
When planned properly and completed by experienced professionals, a roof conversion can transform unused attic space into a valuable and practical part of your home.